

Who can use this feature? | |
| Available on | Basic and Premium Plans |
| Available to | Owners and Managers |
How to customize your online booking widget for your brand
In this article, we'll guide you through the steps to customize your booking widget within Voxiplan. You can personalize both its appearance and functionality to suit your needs.
1. Access Widget Settings
Navigate to your Services page, then locate the workspace you would like to customize.
Click on the options menu with the 3 dots on the right corner of your workspace and select Widget Settings from the dropdown menu to start customizing your booking widget.
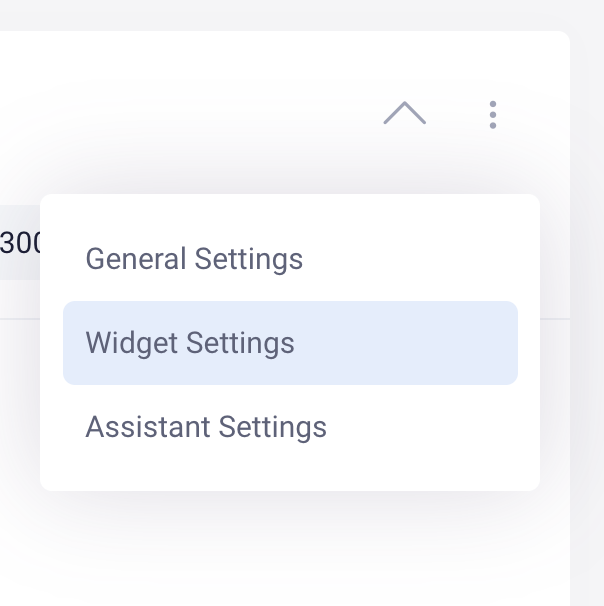
This will open the customization options for your booking widget, where you can modify various settings like title, appearance, and functionality.
2. General Settings Customization
Within the widget settings, you can adjust several key features:
- Title: Modify the title of your booking widget to reflect your business or service, making it easy for clients to recognize your brand.
- Morning and Afternoon Filters: By enabling this option, you can allow clients to filter available time slots based on morning or afternoon availability. This is particularly useful if you offer services across long hours and want to help users find slots that suit their preferences
- Time Zone Selection: Give users the option to select their time zone.
- Time Format: Choose between displaying time in 12-hour or 24-hour formats.
- Language Preferences: Show language options for users to select their preferred language.
3. Edit Scheduling Conditions
You can control how users schedule appointments:
- Appointment Timeframe: You can set a restriction on how far in advance clients can book appointments. This is disabled by default, but if your business requires more flexibility, you can adjust this to allow longer or shorter booking windows.
Email Validation: To protect your business from spam and fraudulent bookings, you can enable automatic email validation. This feature checks the authenticity of user email addresses, reducing the risk of fake signups and ensuring that only users with valid email addresses can book appointments.
4. Display Order of Booking Options
How you present booking options to clients can impact their experience and how easily they navigate your services:
Services First: You can choose to display the types of services you offer first. For instance, if you run a salon, you might want to showcase different appointment types like haircuts, color treatments, or styling options.
Resources First: Alternatively, if your clients typically select their preferred team member or specialist first, you can prioritize resources. This would display the available staff or professionals (e.g., specific stylists or therapists) before showing available appointment types.
5. Customize Booking Widget Branding
Voxiplan offers advanced branding customization options. These allow you to make the booking widget feel like an integral part of your brand.
Remove Voxiplan Branding: You can remove Voxiplan’s branding from the widget. This option is only available to users on paid plans.
Add Your Logo: Upload your business logo to make the booking widget instantly recognizable to your clients.
Custom Description: Add a personalized description below the widget title. You can use this space to provide instructions, explain the booking process, or add a welcoming message. For example, you might add a brief note such as "Here’s what to expect during your visit."
6. Save and Preview Your Widget
After making all your adjustments, don’t forget to save your settings:
- Click the Save button at the bottom of the widget settings page to confirm your changes.
Once your settings are saved, you can preview how your booking widget will appear to clients:
- Head back to your workspace and find the Booking Widget link under the workspace title.
- You can either copy the link or click the three dots next to it and select Preview to view your updated widget in real-time.
This allows you to double-check that everything looks and functions as expected before setting it live for clients.