Who can use this feature? |
|
| Available on | Basic and Premium Plans |
| Available to | Owners and Managers |
In this guide, we'll take you through the steps to create a new event type on Voxiplan.
If you offer several types of appointments or services, you will set up an event type for each of them.
Create your event
- Create a new event: From the Voxiplan homepage, locate and click the "New Event" button within your workspace to create a new event.
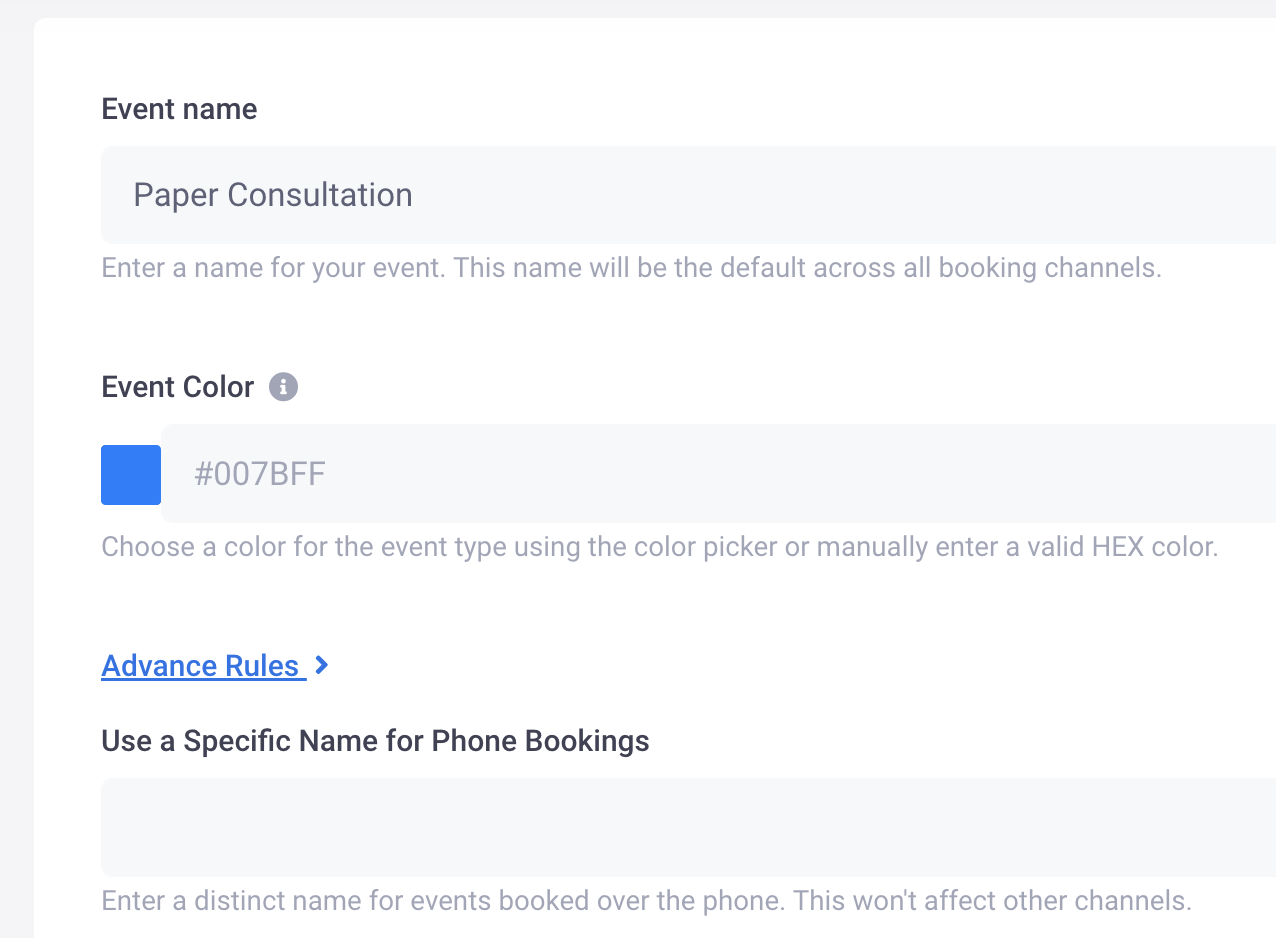
- Name your event: Begin by naming your event. This name will be prominently displayed across all booking interfaces.
- Advanced rules: Optionally, you can choose to use a different name for bookings over the phone. For example, this can be relevant if an appointment's name should sound shorter over the phone, for example.
- Event color: Optionally, you can can use the color picker or input a HEX code to set a specific color for this event.
- Define scheduling options:
- Duration: Determine the length of each event by selecting a standard duration, such as 30 minutes.
- Optionally add extra time: For internal schedule management purposes. This option blocks the standard event duration on your invitees calendar, but blocks a longer time in your calendar.
- Add buffer times: Set aside a specific duration before each event for preparation or preliminary tasks or a buffer time after each event for debriefing, note-taking, or preparation for the next appointment.
- Select event availability: Decide when people can book this event. You can use a predefined schedule like your standard working hours, or set a custom schedule for when this event can be booked.
- Assign team members and resources: Add relevant team members or resources that will be booked when this event is selected.
- If you are done setting up your event, select Save.
Optional Settings
The event type settings page provides you with additional tabs to configure more settings.
- Add questions: You can choose to add questions to your booking experience to collect information upfront from your invitees. These questions can be made mandatory or left as an optional field.
- Automations: Enable notifications and customize the messages your invitees receive when a booking is confirmed, cancelled, rescheduled or a reminder is sent.
- Redirects: Optionally, set up a redirect after an appointment is confirmed to send your invitees to a custom thank you page.
- Payments: If you would like to collect payments for your services upfront, you can enable payment collection. Enter the amount to be collected, currency and payment terms for this event.
Enable your event
Once you have saved your event, go back to your home page to view your new event type in your workspace.
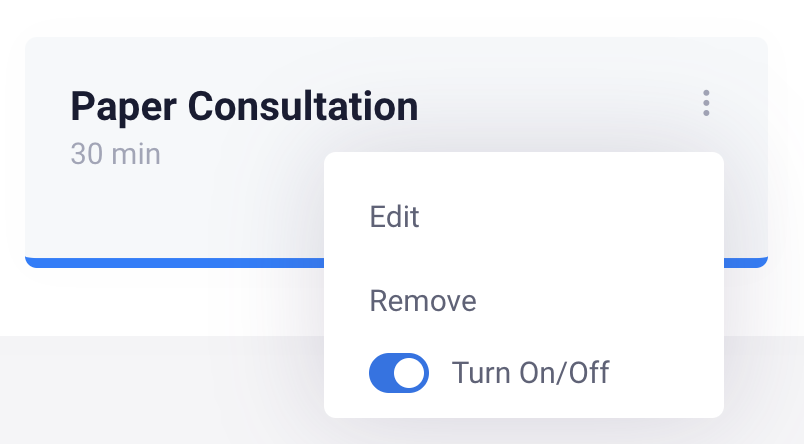
To enable the event so that it is bookable through on your channels, click on the three dots at the top right corner of the event and click the slider to Turn on.