

Who can use this feature? | |
| Available on | Basic and Premium Plans |
| Available to | Owners and Managers |
Prerequisites
In order to start using the phone assistant, you need to purchase a dedicated VoxiPlan phone number which your calls will be forwarded to. This is the phone number that your assistant can receive calls on.
Will callers see my VoxiPlan phone number?
Not necessarily. Once you have purchased your phone number, you have the following options:
- Share your phone number: You can communicate your VoxiPlan phone number to your customers. With this option, you need to share your VoxiPlan phone number with your customers so that they can contact you and take bookings over the phone.
- Internal forwarding: You can continue to use your own business' phone number and forward calls to your VoxiPlan number. In this case, callers will not know that their call was forwarded to another number.
Step 1: Purchase your VoxiPlan phone number
- Navigate to your Home page to see your workspaces.
- In your Workspace Details section, locate the Assistant > Phone section and click on the settings icon with the 3 dots next to it.
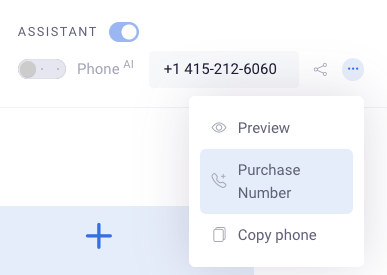
- In the dropdown menu, select Purchase Number.
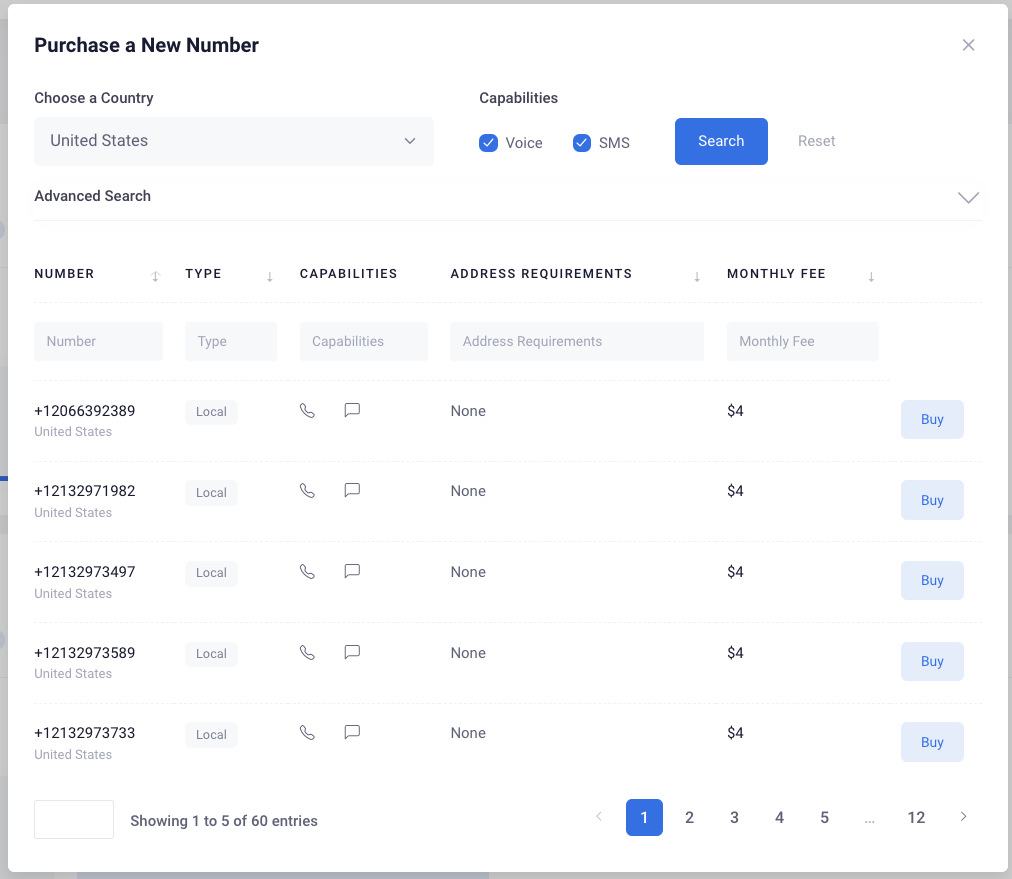
- Choose the country of your phone number and click on Search.
- Browse the list of available numbers. Depending on your country, you can choose and filter by:
- Type: Local, mobile or toll-free numbers
- Features: the ability to use it for voice calls and/or SMS messaging
- Address requirements: whether legislation requires you to submit address details.
- Select the phone number you would like to purchase and click Buy.
- Review your selection and applicable charges. Then confirm your choice by clicking Buy.
Once your VoxiPlan phone number is successfully connected, you can proceed to customize your phone assistant.
For more details on VoxiPlan phone numbers, see Purchasing your VoxiPlan phone number.
Step 2: Customize your phone assistant
If you already have a connected VoxiPlan phone number, you can start customizing your assistant.
Navigate to Assistant Settings to choose your assistant's name, voice and language. You can also decide what your assistant says to greet your callers, set up a phone menu with different choices, and define rules for scheduling behavior, call follow-ups and more.
To get started, follow these steps:
- Navigate to your Home page to see your workspaces.
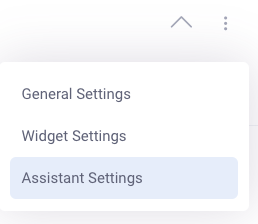
- In your Workspace Details section, locate the Settings icon with the 3 dots at the far right and click on it.
- Select Assistant Settings from the dropdown menu.
Using the sidebar on the right, navigate through your options to customize your caller's booking experience.